Tiling an uneven ground is a problem, so it is important to make sure that your subfloor is as flat and degree as potential earlier than laying any ground tiles. Go away any excessive factors or low factors throughout a ground and you can be heading for hassle. You’ll get uneven grout traces, raised tile edges and delicate dips within the ground.
A ground does not must be completely degree, nevertheless it does must be very shut when tiling a ground. Laws permit for slight variation, however the nearer a ground is to flat and degree, the higher the end. Right here, the professionals reveal the utmost slope allowed, the instruments to get a flat ground and prep a floor prepared for tiling.
Paul Hambidge
Paul Hambidge has 35 years of flooring business expertise from an set up, manufacturing, upkeep and design perspective. He has labored with a few of the largest producers of wooden flooring, vinyl flooring, LVT, SPC, and laminate flooring.
Test ground is flat and degree
Paul Hambidge, Managing Director at Manufacturing facility Direct Flooring, factors out that earlier than laying a brand new ground, it is important to examine the subfloor first. “It doesn’t matter what kind of flooring you are about to put, it is crucial that your subfloor is flat and degree.” He provides, “This ensures no sagging and gaps in your new ground.”
To examine if the ground is degree, Hambidge suggests, “Use a carpenter’s degree (usually longer than a spirit degree), marking out any uneven areas with chalk. You’ll be able to then measure how uneven it’s by lifting one finish of the extent till the bubble is central, then measuring the distinction between the lifted finish and the ground.”
However a ground doesn’t must be completely degree, however shut, continues Hambidge, “The usual for a degree floor is not more than 3mm variation over a straight fringe of two metres.” He provides, “The additional size you get with a carpenter’s degree (like this Spear & Jackson SL2000 Spirit Degree) will likely be useful right here.”
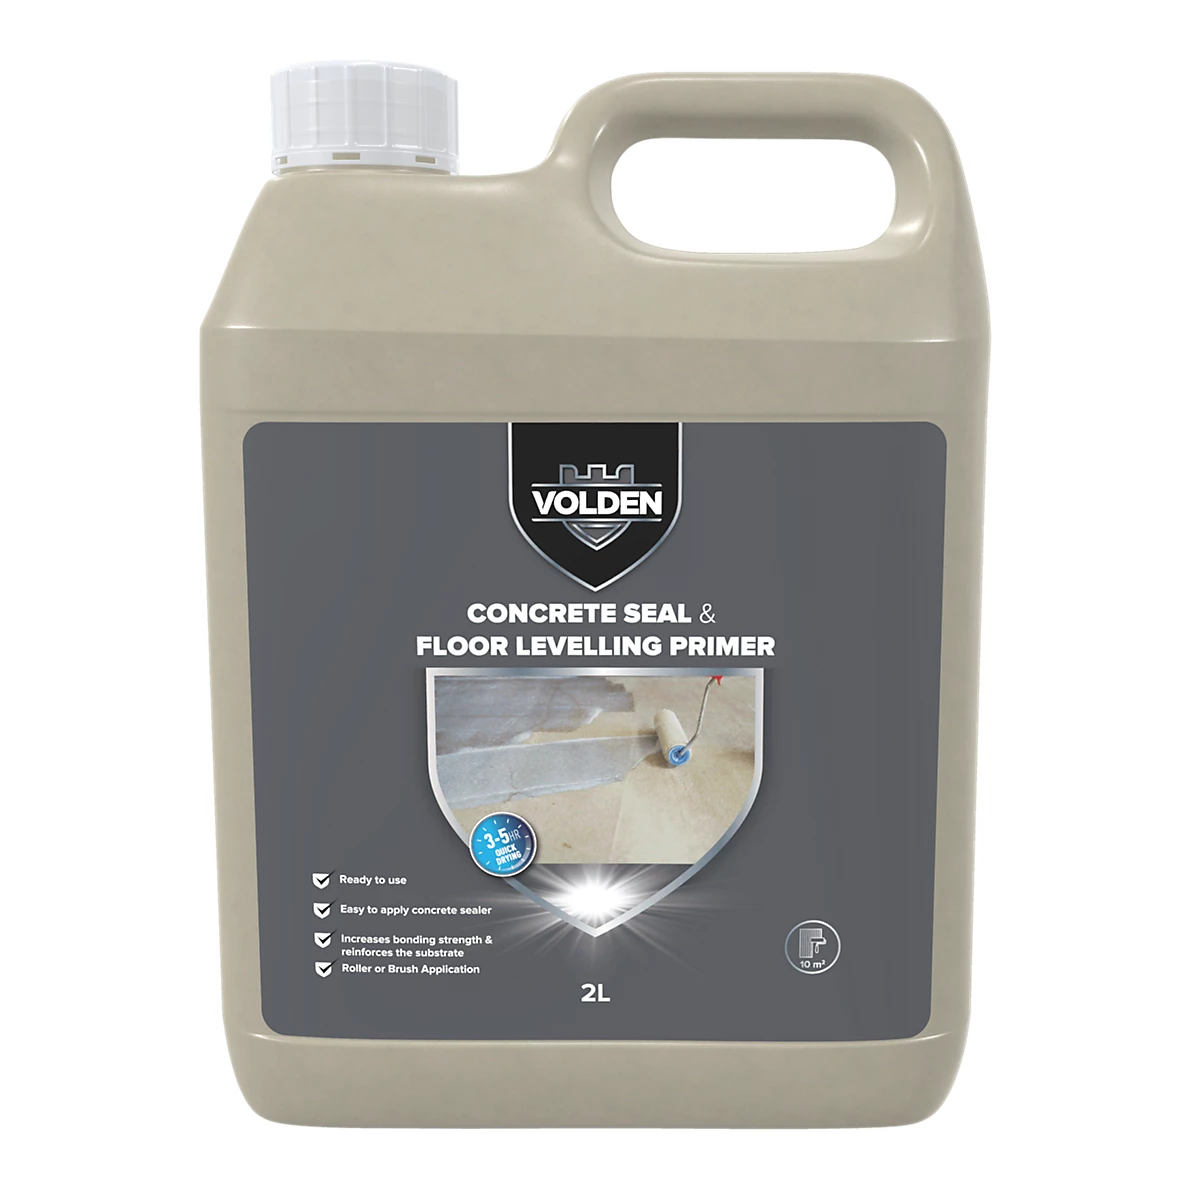
Volden Concrete Seal & Flooring Levelling Primer
Add this water-based, solvent-free ground primer to concrete and screed finishes to assist seal the ground. Apply with a big curler and go away to dry for 2 hours.
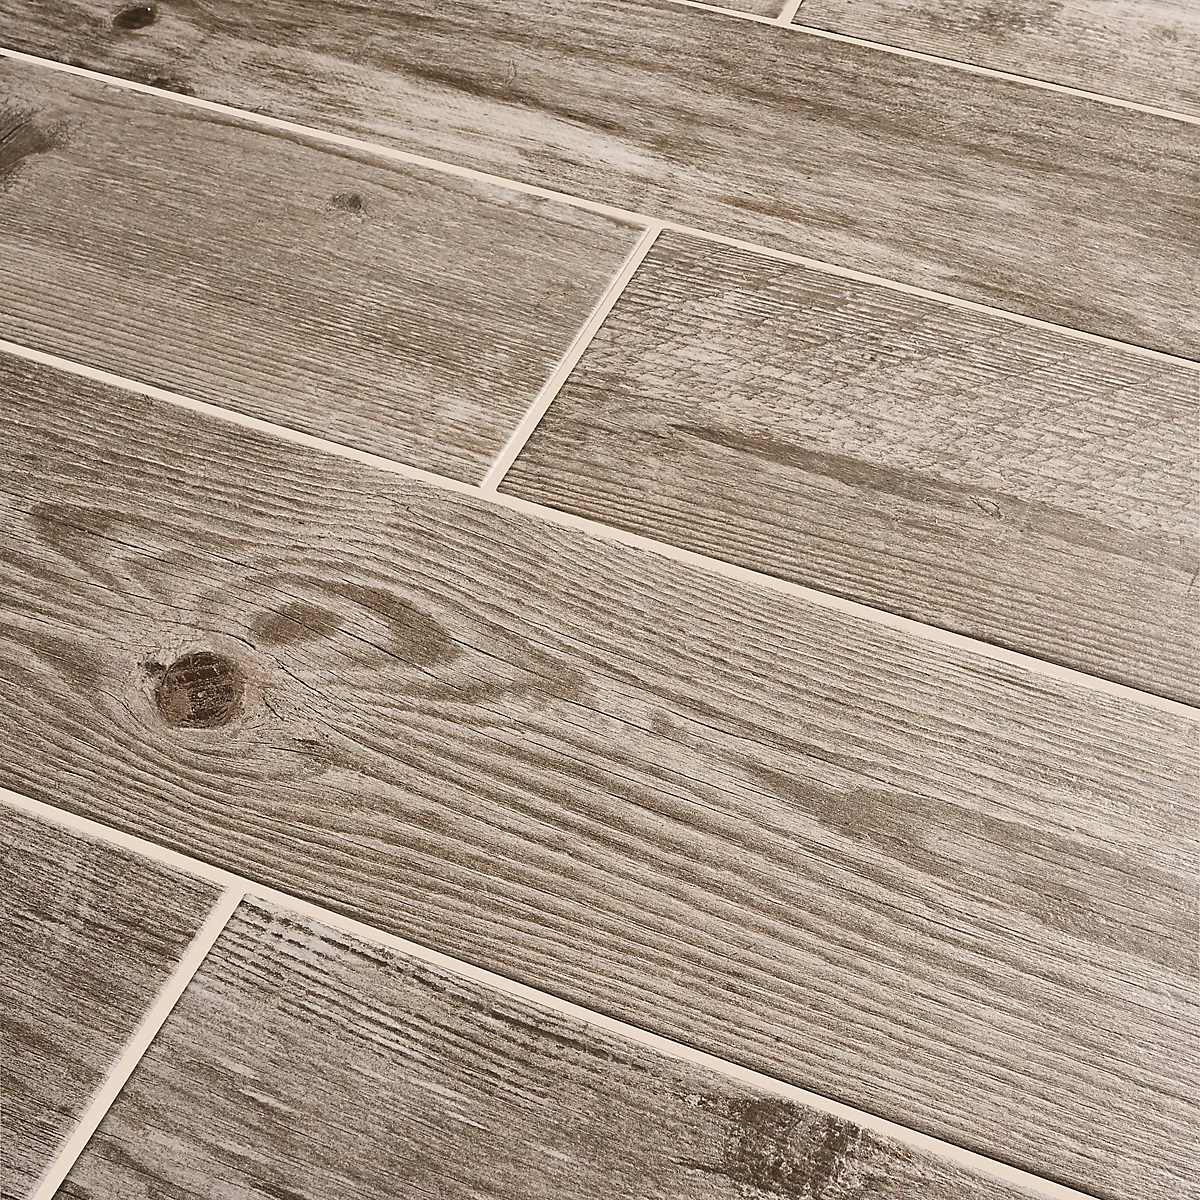
These 1200 x 200mm matt porcelain tiles mimic the fantastic thing about hardwood planks. Splendid for many areas together with hallways, loos, kitchens and moist rooms.
Rollingdog 18 Inch Paint Curler Set
A curler set supreme for the short software of ground primer. Consists of an adjustable curler head for 12-18 inch rollers, threaded extension pole and tray with liners.
Making ready an uneven concrete ground
The preparation of a subfloor will rely upon the state of the ground. If in case you have just some low spots throughout the ground, you possibly can deal with them by hand. Nonetheless, if your complete ground want levelling, you’ll want to make use of a self-levelling compound.
Hambidge goes into extra element concerning the course of, “To degree a concrete subfloor, take away all of the furnishings and clear the floor by scraping and vacuuming away all particles and dirt.” With the ground clear, Hambidge says, “Test your ground’s moisture ranges to examine whether or not you want a moisture barrier (like this Damp Proof Epoxy Resin Water Based mostly Paint from Amazon) earlier than the rest. He provides, “A great way to examine your ground’s moisture degree is with a moisture measuring meter, and also you’re on the lookout for lower than 75% humidity.” Apply if wanted.
Begin by filling any massive cracks with concrete and go away to dry utterly earlier than persevering with. Hambidge provides, “Mark any uneven areas with chalk, then use a concrete grinder to file down the excessive spots, earlier than vacuuming away all of the mud.” Alternatively, a concrete grinding disc (like this SHDIATOOL Diamond Grinding Cup Wheel from Amazon) on an angle grinder is a less expensive possibility.
With a flat and degree ground, the subsequent step is to prime it with a primer, similar to Palace SBR Bond from Amazon, which can seal the ground. Hambidge factors out apply, “It needs to be utilized with a tender curler, making use of strain to work it into the ground and night out any puddles.” He provides, “As soon as dry, apply a second coat in the other way. Drying time will fluctuate between three and 24 hours relying on the local weather.”
The ultimate step is to make use of a levelling compound, similar to Extremely Degree IT 2 Self Levelling Compound, out there on Amazon. Hambidge says, “It needs to be combined with water as per the directions on the bathtub, and combined totally.” He provides, “Do that in small batches, as a result of it would solely take 15-30 minutes earlier than it turns into unpourable.”
As soon as combined, Hambidge provides, “The compound needs to be unfold evenly and pushed proper into the corners and edges with a spiked curler (like this 10-inch Spiked Flooring Curler from Amazon) or squeegee. Let this dry utterly in response to the packet’s directions.” He finishes by saying, “As soon as dry, your new flooring is able to lay.”
Making ready an uneven picket ground
If in case you have an uneven picket ground step one is to safe each board. Eager says, “Exchange something rotten and drive in screws the place planks squeak.” He continues, “Aircraft or sand down crowns, and skim coat little dips with patching compound.” Use an orbital sander like this SKIL 5” Random Orbital Sander from Amazon, with a rough sandpaper grade, 40-60 grit is sweet.
If you’re nonetheless having points Eager suggests, “Screw down a cement backerboard (like this HardieBacker 6mm Backerboard from B&Q) to offer a inflexible, even platform for tiles.”
Kevin Eager
Kevin has been within the building business for 25 years and handles all the pieces, from the distribution and set up of transportable constructions to financing and manufacturing. He can communicate with authority on each facet of constructing.
FAQs
Do you’ll want to prime a newly ready ground?
“Typically, sure,” shares Eager. Including a primer will assist with a bunch of points and make sure the longevity of a newly tiled ground. He provides, “Primer retains thirsty substrates from stealing water out of the combination. At all times learn the producer’s label, however skipping primer is a typical reason behind bond failure.”
It’s important to seal porous concrete surfaces and screeds to stop additional points from arising. The identical precept applies to picket flooring, however a distinct kind of primer will likely be wanted. Guarantee the ground is clear, free from mud, and safe earlier than priming.
Can I put ground tiles over ground tiles?
Sure, you possibly can lay ground tiles over ground tiles, however loads will rely upon the present state of the ground. If it is in poor situation and requires intensive restore work, then it is unnecessary to tile on prime of it. Nonetheless, if the ground is stable and solely has superficial harm, it may be a sensible choice. However Hambidge provides a phrase of warning, “Rather a lot relies on what your tiles beneath are made from.”
He provides, “For instance, I would not suggest laying vinyl tiles on prime of outdated tiles which are additionally made from vinyl – that is as a result of it would ‘sweat’.” As an alternative, you must take away the outdated tiles and put together your subfloor earlier than putting in the brand new tiles.”
Is there a ground tile sample that helps disguise an uneven ground?
Whereas it is sensible to get a ground as flat and degree as potential, there are a couple of methods that you should utilize to assist counteract any delicate dips and troughs. Eager suggests a staggered brick or operating bond design. “These assist disguise small waves higher than grid traces which are exactly straight.”
He provides, “Keep away from tiles which are too large and grout joints which are too skinny, as they make flaws stand out.” To complete, he says, “When the substrate is not supreme, smaller sizes or mosaics (like these Ashford Hexagon Black & White Mosaic Tile Sheets from Victorian Plumbing) can bend and conceal small highs and lows.”
Kevin Oliphant is the co-owner of Faith Mobile Home Solutions, a South Carolina-based company specializing in buying and selling mobile homes. Passionate about affordable housing, he ensures quality service and customer satisfaction.